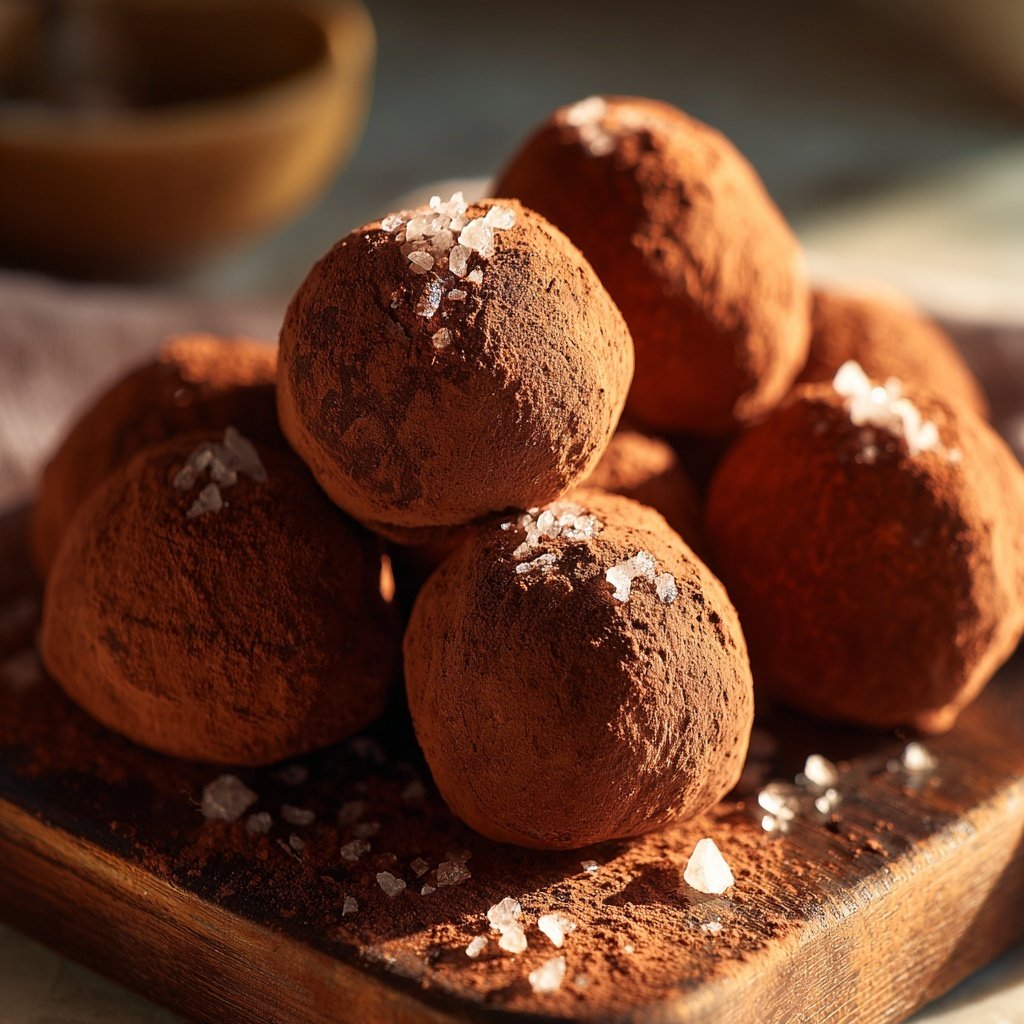
Valentines Treats Chocolate Truffles
Highlighted under: Oven Planning
I absolutely adore making these Valentine's Treats Chocolate Truffles for special occasions. The rich chocolate combined with a hint of sweetness creates a delightful indulgence that’s perfect for sharing. Every time I make them, I find myself experimenting with different flavors—from fruity zest to nutty toppings—creating a unique twist. They are simple to prepare yet incredibly impressive, making them a go-to treat for anyone looking to impress their loved ones without spending hours in the kitchen.
When I first made these chocolate truffles, my friends couldn't believe how easy they were to create. Using only a few quality ingredients, I blended dark chocolate with heavy cream and a splash of vanilla. The mix took mere minutes to prepare, and I was thrilled to roll them into delicate cocoa powder and chopped nuts, giving each truffle its own character. It’s truly about quality ingredients that make these treats so special.
One tip I’ve picked up is to refrigerate the truffles after rolling them for a smoother finish; this ensures that the chocolate sets perfectly. I often personalize them with different toppings like crushed peppermint or sprinkles, making them ideal for any celebration. Each bite is rich and velvety, perfect for the upcoming holiday!
Why You'll Love These Truffles
- Luxurious chocolate center wrapped in a soft shell
- Endless possibilities for flavors and toppings
- Perfectly portioned for gifting or self-indulgence
Mastering the Chocolate Melting Process
To achieve the perfect truffle center, the key is to melt the chocolate and cream together gently. Using a heatproof bowl over a pot of simmering water, called a double boiler, ensures that the chocolate melts evenly without seizing. Stir the mixture continuously and remove it from the heat when it becomes glossy and smooth. This method helps to maintain the chocolate's rich flavor and prevents it from burning, which can happen if melted directly on the stovetop.
It's vital to use high-quality dark chocolate (at least 70% cocoa) for the best flavor. Chocolate with higher cocoa content will yield a richer truffle, while lower cocoa chocolates may produce a sweeter, less intense flavor. If you're unsure, you can mix different chocolates to achieve a balance that suits your taste, but be mindful of the total cocoa percentage.
Perfectly Formed Truffles
When forming the truffles, work quickly to maintain the chocolate's softness. If the mixture becomes too firm after chilling, let it sit at room temperature for a few minutes to soften slightly. If you find the chocolate sticking to your hands, consider lightly dusting your palms with cocoa powder for easy rolling. Each truffle should be about one inch in diameter for perfect bite-sized pieces that look great on any dessert platter.
For added flair, consider customizing the size of your truffles. If you're preparing them as gifts, smaller truffles can offer a delightful assortment, while larger ones could be a show-stopping centerpiece. Regardless of size, ensure they are uniformly shaped for a polished look.
Creative Topping Ideas
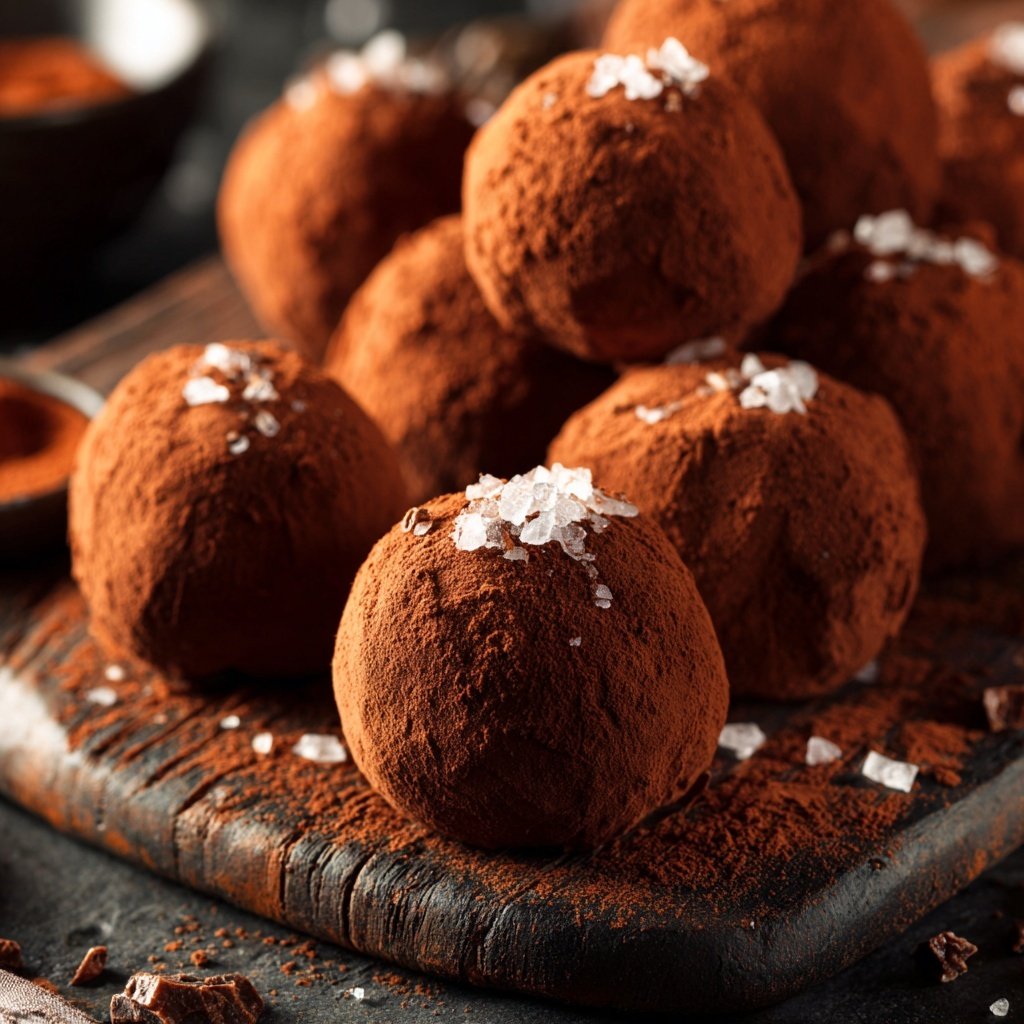
The topping options for these truffles are virtually endless, allowing for creativity in presentation and taste. Traditional cocoa powder gives a classic look and rich flavor, while chopped nuts can provide a crunchy texture. If you're looking for something more vibrant, try colorful sprinkles or shredded coconut. Just be sure the toppings are finely chopped or perfectly shredded to adhere well to the surface of the truffles, enhancing both the visual appeal and textural contrast.
You can also play around with flavored coatings, such as crushed freeze-dried fruit or finely ground espresso beans, to elevate the flavor profiles. Remember to toast nuts lightly before chopping; this enhances their flavor and adds a delightful warmth to each bite. With a mix of textures and flavors, your truffles will not only impress but also offer a delightful surprise for each recipient.
Ingredients
Gather these delicious ingredients for your truffles:
Truffle Ingredients
- 8 ounces dark chocolate (70% cocoa), chopped
- 4 ounces heavy cream
- 1 teaspoon vanilla extract
- Cocoa powder for dusting
- Chopped nuts or sprinkles for toppings (optional)
Now that you have everything, let’s get started!
Instructions
Follow these simple steps to make your chocolate truffles:
Melt the Chocolate
In a medium heatproof bowl, combine the chopped dark chocolate and heavy cream. Place the bowl over a pot of simmering water, stirring continuously until the mixture is smooth and melted. Remove from heat and stir in the vanilla extract.
Chill Mixture
Transfer the chocolate mixture to a shallow dish and refrigerate for about 15 minutes, or until it firms up slightly but is still scoopable.
Form the Truffles
Using a small spoon or melon baller, scoop out portions of the chocolate mixture and roll them quickly between your palms to form smooth balls.
Coat the Truffles
Roll the truffles in cocoa powder, chopped nuts, or other toppings of your choice until fully coated. Place them back on a parchment-lined plate.
Chill and Serve
Once all truffles are formed and coated, refrigerate for another 15 minutes to set before serving. Enjoy your delicious creation!
Now you can enjoy your homemade chocolate truffles!
Pro Tips
- For an extra burst of flavor, consider adding a splash of your favorite liqueur to the chocolate mixture before chilling. This adds a fun twist for adult gatherings.
Storage Tips for Your Truffles
These chocolate truffles can be stored in an airtight container in the refrigerator for up to two weeks. To maintain their flavor and texture, consider layering them with parchment paper to prevent sticking. Let them come to room temperature for a few minutes before serving to enhance their creamy consistency, allowing the chocolate to soften slightly and bring out the rich flavors.
If you want to make them ahead of time, you can also freeze the truffles. Place them in a single layer on a baking sheet until firm, then transfer them to an airtight container or freezer bag. Frozen truffles can last up to three months; simply thaw them in the refrigerator overnight before enjoying.
Variations to Try
To personalize these truffles to your taste or special occasions, consider infusing the cream with flavors such as peppermint, orange zest, or even chili for a kick. Simply warm the cream slightly with the chosen infusion, allow it to steep, strain, and then add it to the melted chocolate. This method allows for a delightful twist that can be tailored for each holiday or celebration.
For a lower-sugar version, opt for unsweetened chocolate and adjust the sweetness by incorporating natural sweeteners like honey or maple syrup into the cream. Just be cautious with the quantity to maintain the right balance of texture and flavor. Experimenting with different ingredients not only keeps the recipe exciting but also ensures there’s something suited for everyone.
Questions About Recipes
→ Can I use milk chocolate instead of dark chocolate?
Yes, you can use milk chocolate, but it will result in a sweeter truffle.
→ How do I store leftover truffles?
Store them in an airtight container in the refrigerator for up to one week.
→ Is there a way to make these truffles dairy-free?
Absolutely! Substitute the heavy cream with coconut cream and use dairy-free chocolate.
→ Can I freeze my truffles?
Yes, you can freeze them for up to three months; just allow them to thaw in the fridge before serving.
Valentines Treats Chocolate Truffles
Created by: Violet Kingsley
Recipe Type: Oven Planning
Skill Level: Beginner
Final Quantity: 24 truffles
What You'll Need
Truffle Ingredients
- 8 ounces dark chocolate (70% cocoa), chopped
- 4 ounces heavy cream
- 1 teaspoon vanilla extract
- Cocoa powder for dusting
- Chopped nuts or sprinkles for toppings (optional)
How-To Steps
In a medium heatproof bowl, combine the chopped dark chocolate and heavy cream. Place the bowl over a pot of simmering water, stirring continuously until the mixture is smooth and melted. Remove from heat and stir in the vanilla extract.
Transfer the chocolate mixture to a shallow dish and refrigerate for about 15 minutes, or until it firms up slightly but is still scoopable.
Using a small spoon or melon baller, scoop out portions of the chocolate mixture and roll them quickly between your palms to form smooth balls.
Roll the truffles in cocoa powder, chopped nuts, or other toppings of your choice until fully coated. Place them back on a parchment-lined plate.
Once all truffles are formed and coated, refrigerate for another 15 minutes to set before serving. Enjoy your delicious creation!
Extra Tips
- For an extra burst of flavor, consider adding a splash of your favorite liqueur to the chocolate mixture before chilling. This adds a fun twist for adult gatherings.
Nutritional Breakdown (Per Serving)
- Calories: 380 kcal
- Total Fat: 26g
- Saturated Fat: 15g
- Cholesterol: 195mg
- Sodium: 85mg
- Total Carbohydrates: 32g
- Dietary Fiber: 3g
- Sugars: 24g
- Protein: 6g