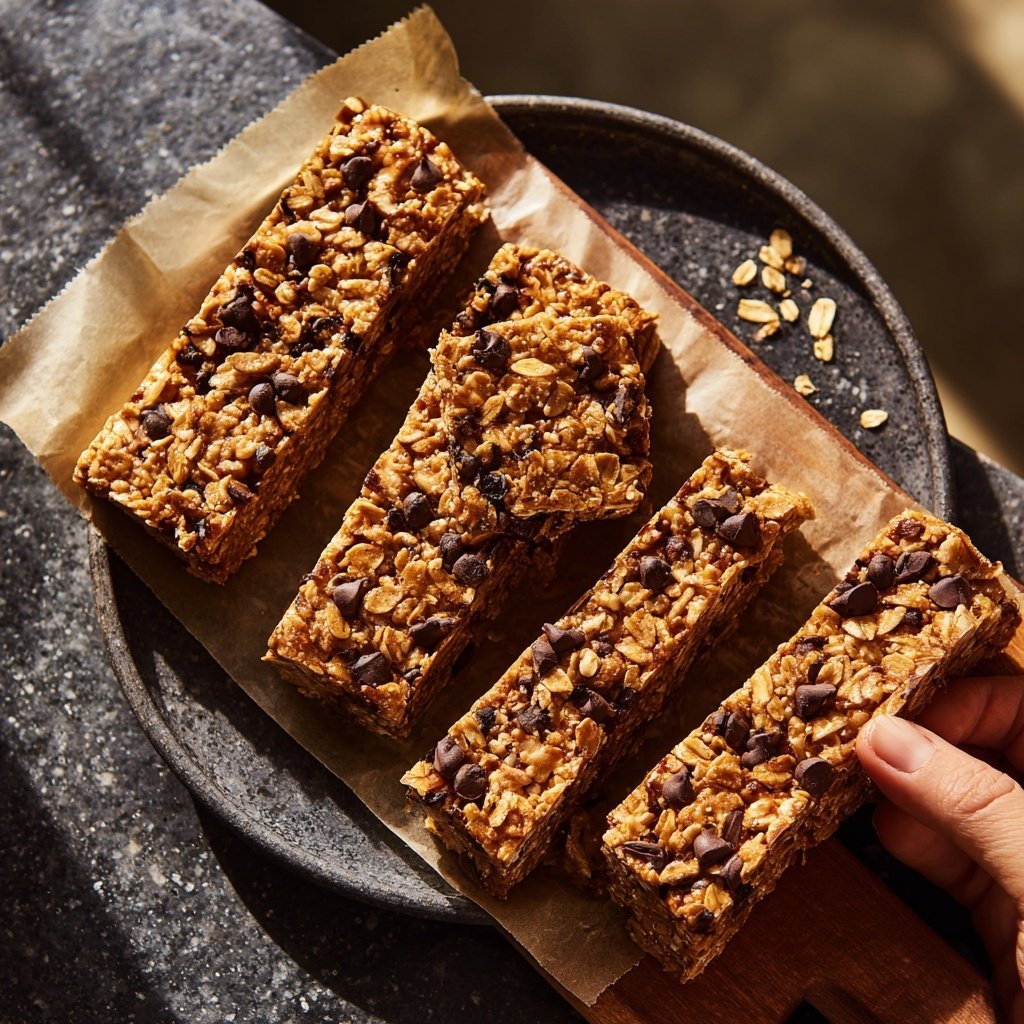
Healthy Snack No Bake Granola Bars
Highlighted under: Smart Planning
I absolutely love making these Healthy Snack No Bake Granola Bars for a quick and nutritious treat. They are not only easy to prepare but also packed with wholesome ingredients that keep me feeling energized. The best part is that there's no baking involved, so it saves time and effort in the kitchen. I typically customize them with my favorite nuts and dried fruits, making each batch unique. These bars make for a convenient snack on busy days or a delicious addition to my kids' lunchboxes.
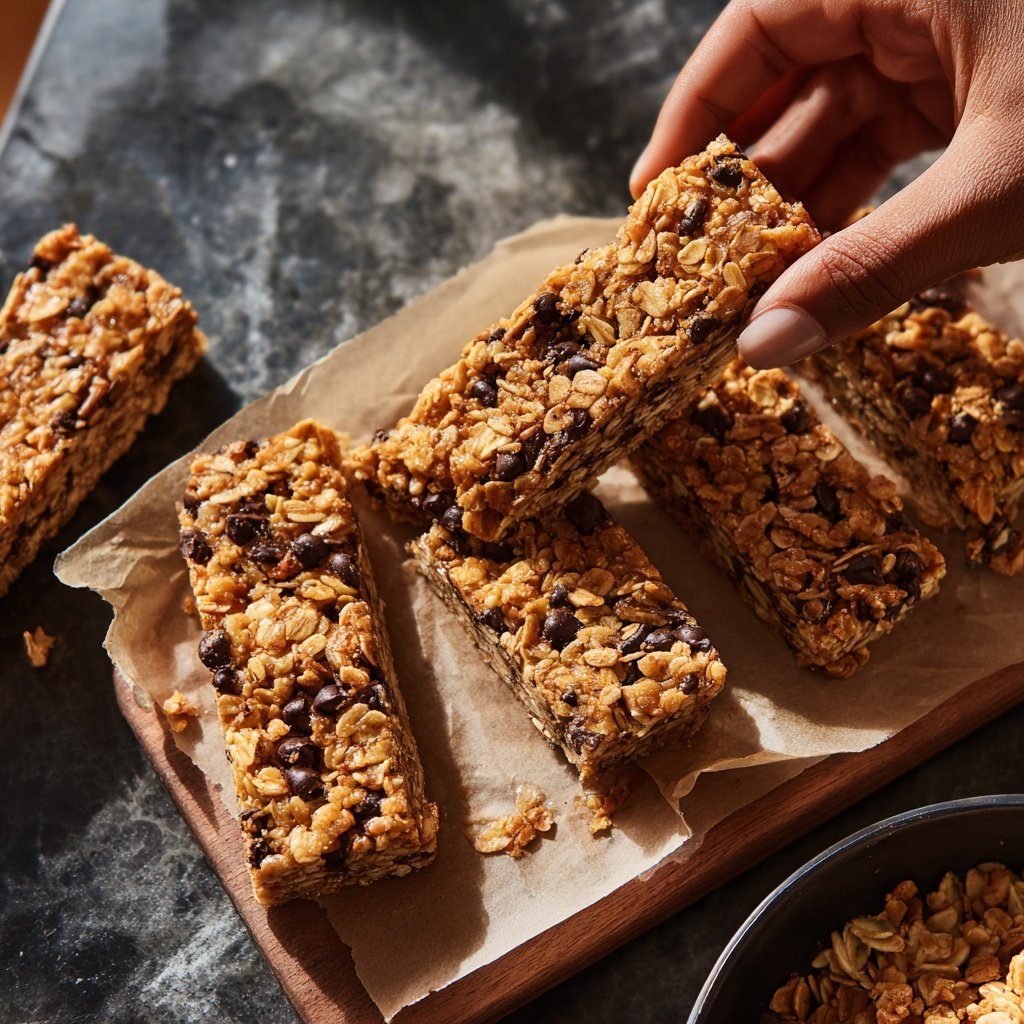
When I first experimented with these no-bake granola bars, I was amazed at how simple and versatile they could be. After trying several variations, I discovered that combining oats with nut butter not only binds the mixture but also enhances the flavor. A tip I found helpful is to refrigerate them for at least an hour before slicing for cleaner cuts.
One of my favorite additions is a sprinkle of chocolate chips or a drizzle of honey, which makes them almost like a dessert but still healthy! Every time I make these, they disappear within days, proving how popular they are with my family and friends.
Why You'll Love These Bars
- Nutritious ingredients that keep you full and satisfied
- Easy to customize with your favorite flavors and add-ins
- A no-bake recipe that saves time and effort
Customizing Your Granola Bars
The beauty of these no-bake granola bars is their versatility. By varying the nuts and dried fruits, you can create an entirely personalized flavor profile. Consider using walnuts for a rich, earthy taste, or pumpkin seeds for added crunch and nutrition. If you prefer a tropical twist, opt for dried pineapple and coconut flakes. This flexibility allows you to experiment based on what you have on hand or what your palate craves. Just keep the ratios consistent for the best texture.
Another fantastic way to customize is through spices. A sprinkle of cinnamon or nutmeg can elevate the flavor, adding warmth and depth. If you enjoy a hint of heat, try a dash of cayenne pepper to contrast with the sweetness of the honey or maple syrup. Just be cautious with strong spices; start small and adjust to find your perfect blend. The key is to balance these flavors with the nut butter's creaminess and the bars' overall sweetness.
Storage and Shelf Life
Once your granola bars are sliced, it's crucial to store them properly to maintain their freshness. I recommend keeping them in an airtight container in the refrigerator. They can last for about a week when stored this way. If you want to extend their shelf life, consider freezing the bars. Wrap each bar individually in wax paper or plastic wrap, then place them in a freezer bag. This method keeps them fresh for up to three months, making it easy to grab a healthy snack anytime.
When you're ready to enjoy a frozen bar, simply pull it out and let it sit at room temperature for about 15-20 minutes to soften. If you're in a hurry, you can also enjoy them straight from the freezer for a deliciously chewy treat. Keep in mind that the texture may slightly change after freezing but will still taste amazing. I love this prep-ahead strategy for busy weeks!
Troubleshooting and Tips
If you find your granola bars crumbly after slicing, it often indicates that they didn't have enough moisture. To fix this in future batches, ensure your nut butter is well-blended and fully incorporated into the dry ingredients. If your mixture seems dry, consider adding an additional tablespoon of honey or maple syrup. This will help bind the ingredients effectively, resulting in a more cohesive bar that holds together when you bite into it.
Conversely, if your mixture is too sticky, it might have too much nut butter or sweetener. You can remedy this by adding a bit more oats or nuts to balance the moisture. Remember, getting the right consistency is key to achieving that perfect chewy yet firm texture. Keep a close eye on the mixture while preparing; it should be sticky but not overly wet. With these tips, you'll be able to master the base recipe and make it your own!
Ingredients
Gather the following ingredients to make these delicious bars:
Granola Bar Ingredients
- 2 cups rolled oats
- 1 cup nut butter (peanut, almond, or cashew)
- 1/3 cup honey or maple syrup
- 1 cup mixed nuts, chopped
- 1/2 cup dried fruit (raisins, cranberries, or apricots)
- 1/4 cup chocolate chips (optional)
- 1/2 teaspoon vanilla extract
- A pinch of salt
Mix these ingredients well before pressing them into your prepared pan.
Instructions
Follow these steps to create your granola bars:
Combine Ingredients
In a large bowl, mix the rolled oats, nut butter, honey or maple syrup, and vanilla extract until well combined.
Add Extras
Fold in the chopped nuts, dried fruit, chocolate chips (if using), and a pinch of salt until evenly distributed.
Press into Pan
Line an 8x8 inch baking pan with parchment paper. Pour the mixture into the pan and press it firmly into an even layer.
Chill and Slice
Refrigerate for at least 1 hour to set. Once firm, lift out of the pan and slice into bars.
Your delicious granola bars are now ready to be enjoyed!
Pro Tips
- For added flavor, try toasting the nuts before mixing them in. You can also substitute the honey with agave syrup for a vegan option.
Ingredient Spotlight: Nut Butters
Nut butter is not just a binding agent; it plays a crucial role in flavor and texture. Peanut butter provides a rich, robust flavor, while almond butter offers a milder, slightly sweet note. On the other hand, cashew butter contributes a creamy texture that can make your bars decadent. Consider making a blend of nut butters to achieve a unique flavor burst. Just keep in mind the consistency and adjust the amount of sweetener accordingly, depending on the nut butter's creaminess.
For those with nut allergies, there are excellent substitutes available. Sunflower seed butter provides a similar texture and is nut-free, making it a safe choice for schools. Keep in mind that different nut butters may impart different levels of sweetness, so taste the mixture as you mix to ensure perfect balance. Each nut butter adds its distinct character, making it an essential component of these bars.
Serving Suggestions
These granola bars are not just a snack; they can elevate various meals throughout your day. Crumble a bar over your morning yogurt for added crunch and nutrients, or pair them with a piece of fruit for a balanced breakfast on the go. They also make great pre- or post-workout fuel due to their mix of carbohydrates and protein, providing long-lasting energy.
For a fun twist, consider turning these bars into a dessert. Dip half of each bar in melted dark chocolate and let them cool for an indulgent treat. This not only enhances the flavor but also adds a lovely presentation that works well for gatherings or lunchboxes. You can even sprinkle a pinch of sea salt over the chocolate for that delightful sweet-salty contrast.
Questions About Recipes
→ Can I make these granola bars ahead of time?
Absolutely! These bars can be made in advance and stored in the refrigerator for up to a week.
→ What can I use instead of nut butter?
You can substitute nut butter with sunflower seed butter or pumpkin seed butter for a nut-free option.
→ How do I store the granola bars?
Store them in an airtight container at room temperature for a few days, or in the fridge for longer freshness.
→ Can I freeze the granola bars?
Yes, these bars freeze well! Wrap them individually and store them in a freezer-safe container.
Healthy Snack No Bake Granola Bars
What You'll Need
Granola Bar Ingredients
- 2 cups rolled oats
- 1 cup nut butter (peanut, almond, or cashew)
- 1/3 cup honey or maple syrup
- 1 cup mixed nuts, chopped
- 1/2 cup dried fruit (raisins, cranberries, or apricots)
- 1/4 cup chocolate chips (optional)
- 1/2 teaspoon vanilla extract
- A pinch of salt
How-To Steps
In a large bowl, mix the rolled oats, nut butter, honey or maple syrup, and vanilla extract until well combined.
Fold in the chopped nuts, dried fruit, chocolate chips (if using), and a pinch of salt until evenly distributed.
Line an 8x8 inch baking pan with parchment paper. Pour the mixture into the pan and press it firmly into an even layer.
Refrigerate for at least 1 hour to set. Once firm, lift out of the pan and slice into bars.
Extra Tips
- For added flavor, try toasting the nuts before mixing them in. You can also substitute the honey with agave syrup for a vegan option.
Nutritional Breakdown (Per Serving)
- Calories: 200 kcal
- Total Fat: 10g
- Saturated Fat: 1g
- Cholesterol: 0mg
- Sodium: 5mg
- Total Carbohydrates: 23g
- Dietary Fiber: 3g
- Sugars: 8g
- Protein: 5g